
Upgrading RICOH CloudStream Client on Windows
Manual upgrade process
Follow these steps to upgrade the existing installation of RICOH CloudStream Client in the Windows environment:
-
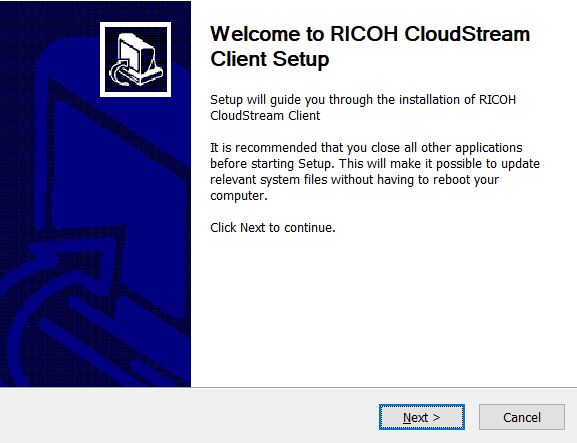
Run the RICOH CloudStream Client executable file.
-
Click Next.
-
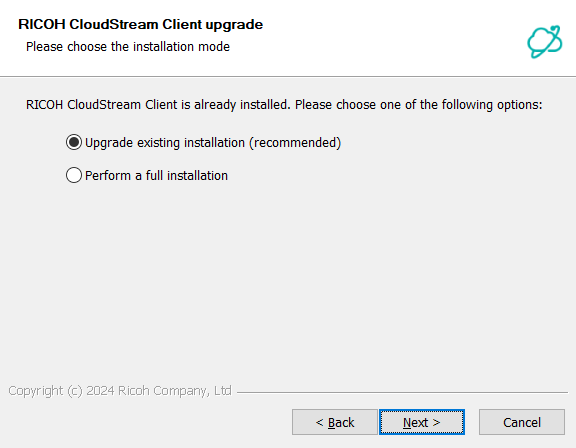
Select the Upgrade existing installation (recommended) option and then click Next.
-
Wait while the RICOH CloudStream Client is being updated and then click Finish.

Upgrade via Windows command line
This is similar to the unattended installation. Open a Command Prompt and go to the location of the RICOH CloudStream Client installer. Run the following command:
ricoh-cloudstream-client-3.x.y-release-setup.exe /S /GATEWAYADDRESS=<IP or DNS> /ACCOUNTDOMAIN=<accountDomainName>
Windows installer also accepts several command-line parameters for unattended installation that can be found in section Installing CloudStream client on Windows.
Upgrading RICOH CloudStream Client on macOS
Manual upgrade process
Follow these steps to upgrade the existing installation of RICOH CloudStream Client in the macOS environment:
-
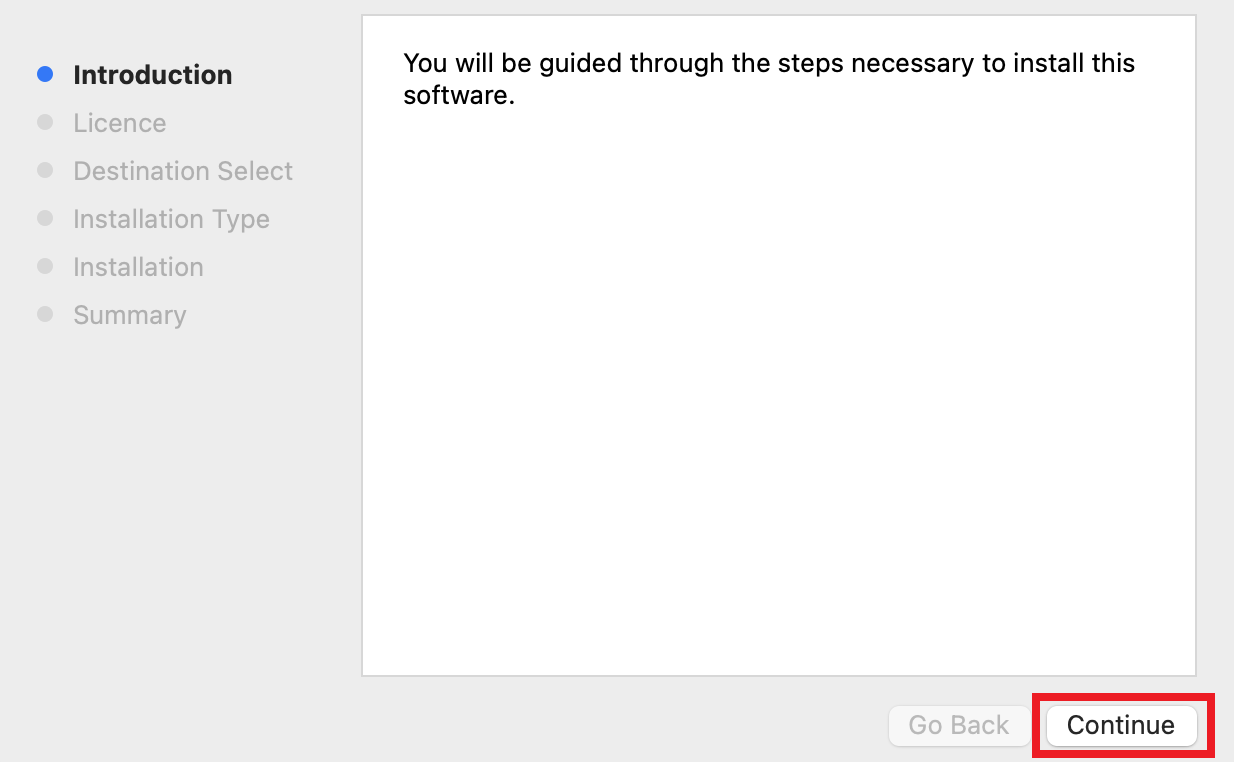
Run the RICOH CloudStream Client .pkg file.
-
Click Continue.
-
On the next screen, read the license agreement and click Continue. A pop-up screen will appear.
-
On the pop-up screen, click Agree.
-
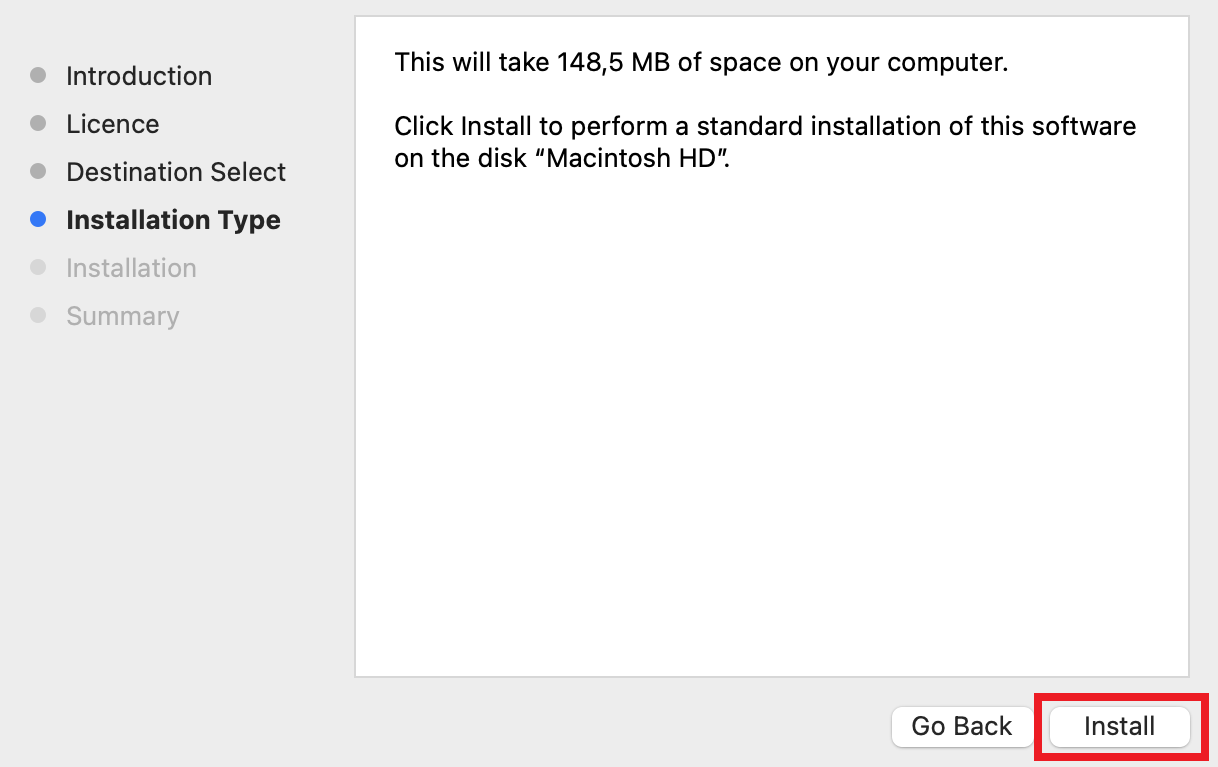
Click Install and then click OK.
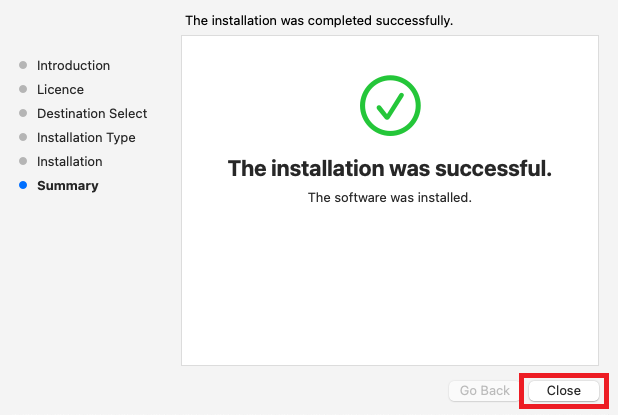
-
Authorize the installation, wait until the RICOH CloudStream Client is installed, and then click Close.
Unattended upgrade process on macOS
The same steps outlined in section Installing CloudStream client on macOS can be followed for upgrading.
Post-upgrade checks
-
The RICOH CloudStream Client icon is displayed normally in the System Tray area.
-
The upgraded app version is correct in the About window.
-
The previously set configuration options are unchanged in the Configuration… window.